Nature offers a vast, free-of-charge store cupboard providing materials and inspiration for lots of crafts for kids. There are so many unusual shapes and textures to be used and discovered.
Table of Contents
Gathering from Nature
When collecting nature items for craft ideas, make sure you remember basic safety rules. Collecting wild flowers or plants is illegal. Use your common sense and treat your foraging trip as an educational opportunity for the kids.
A really fun way to collect items for your crafts for kids is to stage a scavenger hunt. Discuss which items are needed and issue a list to each ‘hunter’. It’s great fun for them to track the materials down and adds a real sense of achievement to the finished craft.
Pebble People and Pets
Start by gathering a selection of pebbles and stones. The best ones to use are nice and smooth, this makes them easier to paint and add features. Start by washing the pebbles in warm soapy water. Make sure you allow the pebbles to dry thoroughly.
When dry, kids can use non-toxic paint to cover the pebble with their chosen base colour.
When the base colour has dried, you can start the fun bit by bringing the pebbles to life with lots of funny features. These can be inked onto the pebble with bold felt pens or you can glue on googly eyes, bows and woollen hair. For extra sparkle, use a little glitter. Children can collect entire colonies of these little people and animals. They never tire of coming up with new designs or craft ideas.
Under the Sea
Create a fabulous under the sea scene! Often called dioramas, the aim is to create something that looks a bit like a 3-D sea aquarium. The project uses lots of different crafts for kids, many of which use natural materials.
- Find a large box. The larger the better – but just remember, you have to fill it – so don’t go too mad.
- Start by painting the inside of the box to look like blue seawater. Now you need to start filling the box with underwater items.
- Turn the box on its side. If you use shells and pebbles, make sure there is a ‘lip’ on the box so the ocean floor doesn’t fall out of the display!
- Fill the base of the scene with the collected pebbles and shells. Use twigs to create driftwood. You can also decorate the twigs with paint and glitter for a pretty coral effect.
- Finish the scene with colourful paper fish and sea creatures suspended by ribbon from the ‘roof’ of the ocean scene and litter the sea floor with green tissue paper shreds or leaves which look like seaweed.
Lots of Ideas
Leaves make stunning brass rubbings. Place a fat leaf, vein upwards beneath thin paper. Lightly sweep over the leaf with wax crayons to reveal the beautiful print. The leaf and paper can also be secured, for ease, with masking tape.
Leaves are wonderful stencils too. By building up the stencilled leaves, onto a drawn tree shape, you can create a real family tree. The leaf shapes look great if they are adorned with photos of family members.
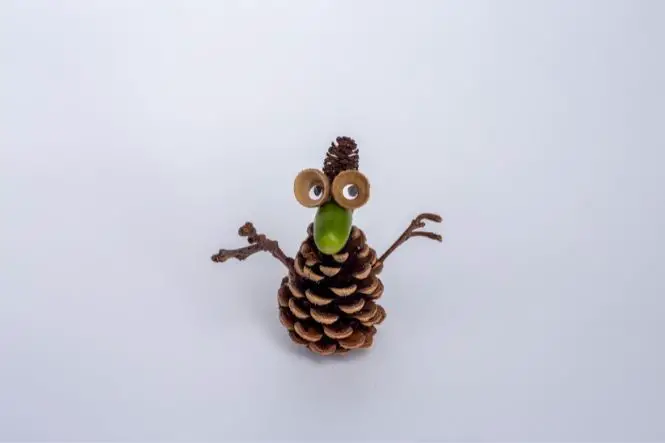
Use twigs and feathers to create wonderful effects with paint. Both can also be used with clay or play dough to create realistic wildlife. Lots of twigs snapped to the same length make lovely hedgehogs and feathers produce more realistic bird models. Feathers are also wonderful additions to textured collages.
Flower Presses
Flower pressing is one of the most enduring crafts for kids. There are lots of flower pressing kits available and some are designed specifically for children. You can achieve the same results with items you may have around the house.
- Select suitable flowers for pressing. Leaves, herbs and foliage work well too.
- Arrange and sandwich the items between two sheets of blotting paper, paper towel or newspaper. Now press between the pages of a heavy book and weigh down heavily.
- Return to your project to check its progress. Most flowers will dry in about two weeks.
The flowers are now ready to use in all sorts of ways. They can be glued to card blanks or strips of card to make beautiful stationery and bookmarks.
For a gorgeous candle, paste a plain white pillar candle with lots of PVA glue. Allow it to dry slightly and carefully arrange the dried flowers. Now paste on more PVA glue and allow it to dry thoroughly. Kids are always thrilled by the stunning results.
There’s nothing more inspiring than all the wonderful resources the natural world has to offer. A pleasant walk reveals everything you need for the most creative crafts for kids. Best of all, it’s all yours – free of charge!