If you can combine imaginative play with a fun craft activity, you’re backing a winner. The project of designing and making a cardboard castle is the perfect mixture of fun, imagination and skill.
Rather than choosing a castle from a shop, children can build something that features all the parts of a castle that really appeal to them and play important parts in their role play games.
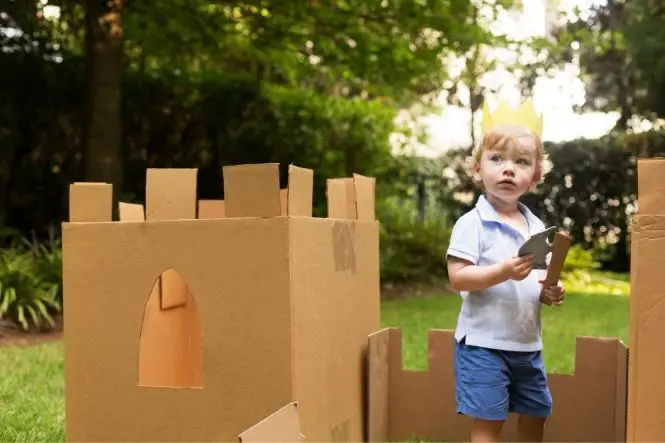
This craft attracts princesses, as well as knights and is a valuable learning opportunity to look back at history and take some ideas for modern play and crafts.
Table of Contents
Planning your Castle
All the materials are easily found around the house, which makes it an excellent exercise in recycling.
Before you start, spend time together researching castles and some of the exciting features you can incorporate into your finished design. Look at books and pictures, thinking about how you can translate some of the ideas into a craft project.
Hunt around the house for raw materials and gather them together so everything you need is close at hand.
The Base
Start by finding a base for the castle. This can be the bottom of a cardboard box. It needs to match the scale of your finished castle. This depends on whether you want your castle to be a small model or a larger one which provides a good backdrop for the battles between toy knights and fearsome dragons.
The Walls
Rectangular and shallow cardboard boxes laid on their sides, create really effective castle ramparts. Good options are cereal boxes. Place four of them into a square shape and leave each corner free for a tower.
Putting It All Together
Now you have all the basic design in place, it’s time to start building. Attach the four walls of the castle to the base using glue or double sided sticky tape, don’t worry about how it looks at this stage, there’s plenty of time to make it pretty later.
Find four cardboard tubes, kitchen towel is a good size to go with cereal boxes and fix these to each corner.
Top each wall of the castle, the inner and outer edges with the traditional battlements. Cut this square-shaped zigzag from a separate piece of card and fix to the walls. Now you have the perfect walkway all the way around the battlements from which soldiers and knights can defend the castle from invaders.
Finishing Touches
Once you have a basic structure, it’s time to start turning your sculpture into a ‘real’ castle using lots of very simple craft ideas.
Paint the castle walls in a base colour, this could be sand or grey and fix squares of dark coloured paper over the walls to make a brick effect. Use this to cover up any visible patches of sticking tape.
Top the four towers with a cone of paper to create a real fairy tale effect. Simply cut a small circle of card with a circumference that is slightly larger than that of the cardboard tubes. Cut a slit in the circles to the centre and create a cone by overlapping the two cut edges so that the centre rises to a pinnacle.
When your castle is the right colour, let the kids think about the things they want to add that make their new castle match up to the fort of their dreams.
- Make flags for each of the towers from a cocktail stick, topped with a brightly coloured banner made from scrap material.
- Create a moat for the castle by covering some of the base around the castle walls with blue tissue paper or silver foil. Paint the outer edges of the base a good, grassy green colour. Think about hiding places for the enemies of the castle, by adding clumps of bushes and shrubs made from shredded green sponge cloths.
- Cut a long drawbridge flap that extends over the moat from one of the walls of the castle. This is best done by using a sharp craft knife. This is a task for the adult helper. Paste a thin layer of glue onto the opened drawbridge and stick lines of cocktail sticks or spent matches to the surface for an authentic timber appearance. Attach a line of thread to the two furthest corners of the bridge and pass through the castle wall, knotting securely.
- Cut small arches, arrowholes and windows randomly into the castle walls. This is another task for the grown-ups, as the best instrument to use is a scalpel or craft knife.
The kids have enjoyed hours of cutting, sticking, modelling and designing. Hopefully, they will have learned a lot about the history and functions of a castle. Now all they have to do is cherish the hours of fun that lay ahead with their new pride and joy.