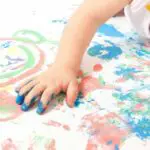
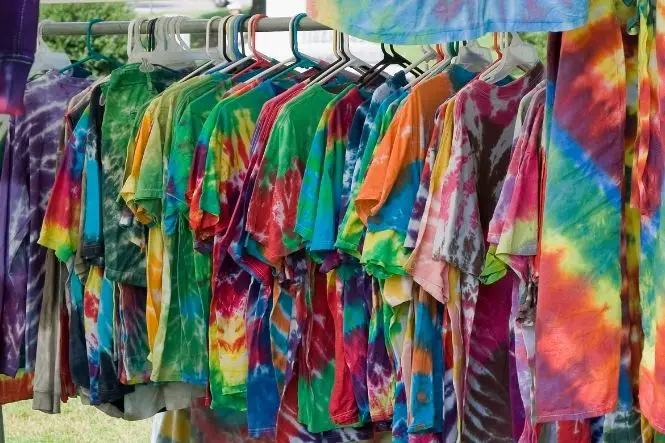
Think psychedelic, Sixties’ hippies and the fabulous swirly designs immortalised in the fashion of those eras. You’re thinking about the art of tie dye. It’s a craft with examples dating back to ancient South America and Japan. Teaching kids to tie dye is full of fun and trials. Tie-dye projects are a chance to experiment and even produce something a child can wear with pride.
Table of Contents
What is a Tie Dye?
By arranging a piece of material into knots and twists, you prevent the dye from colouring the fabric uniformly. This creates the distinctive patterns that tie dye is famed for.
Getting Ready
As with all kids crafts, assemble and prepare everything you need before beginning. Good craft ideas depend on good organisation.
Start with selecting the item the child would like to tie dye. There are many projects to choose from. The most popular craft ideas are pillowcases, jeans or T-shirts. Every child has an old white T-shirt stuffed in the back of their wardrobe. This is ideal because it turns something very ordinary into something very special. The main rule is that the fabric should have a high percentage of natural fibre, typically cotton. Anything that is purely or largely man-made will produce poorer results.
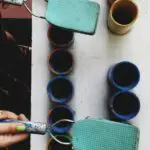
You will need to buy a dye suitable for tie-dyeing, ideally from a specialised craft shop or haberdashers. They will be able to advise you which type of dye is most suitable and easiest to use.
You are almost ready to start one of your best ever kids crafts. The next items you need are a pair of rubber gloves to protect skin from the chemical agents of the dye.
Finally, think about items that will be useful for scrunching, twisting and knotting the fabric. These are usually things like rubber bands, pegs or marbles.
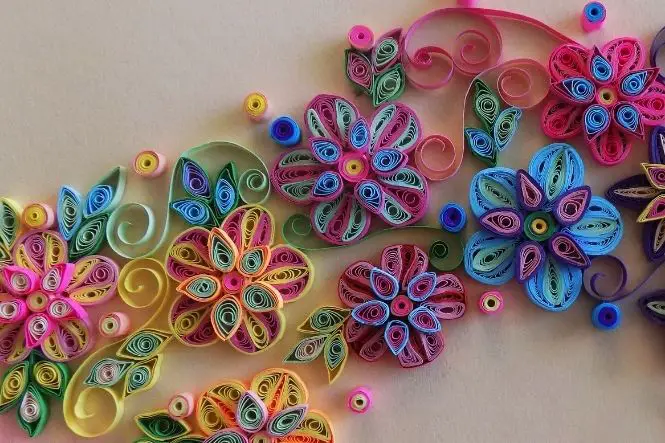
Great Designs
Make sure you prepare the dye, according to the specific instructions. This is not a job for children, so while you are doing this they can make a start creating their design.
Some simple ideas include the ‘sunburst’. Wrap a marble in a small twist of fabric then secure with a rubber band. Twist a column of fabric and secure at regular intervals with rubber bands and you will create a set of lines. To make a design spattered with small circles, dot individual marbles randomly, securing each with a single rubber band.
These designs are traditional ideas but the best way to discover the whole spectrum of effects possible is by trial and error. It’s a good idea for kids to start with an old sheet and they’ll have plenty of fabric to play with before moving on to their special project.
Ways with Colour
Once the item has been soaking in the dye for up to 20 minutes, it’s removed and rinsed thoroughly until the water runs clear. The colour effects vary with the brand of dye used. Generally, the longer the material is soaked, the more intense the colour achieved.
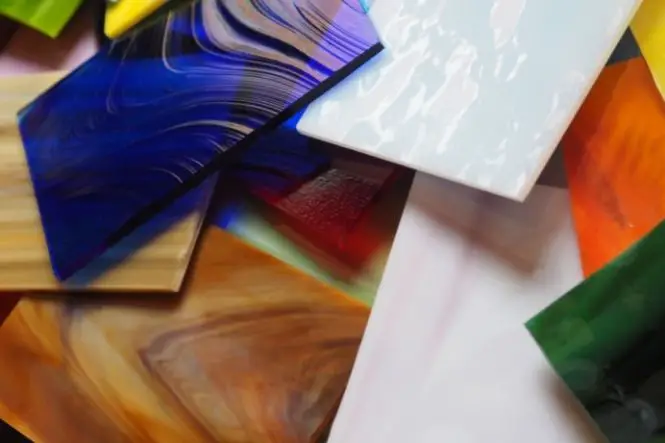
Colour use can be quite complicated, certain colours work less well with others. Start by keeping it simple. Use a single colour on a white fabric background. Don’t forget, less is more. By keeping the colours simple, your child will also find it easier to see which effects work best.
Learning to tie-dye will fascinate the most demanding children, it leads to a variety of projects to suit every age and capability. This activity requires a high level of supervision and provides lots of fun for adults and children alike.